
Oracle recently released a new version of the Oracle SOA Suite 12c. This release is built around 4 themes; Industrial SOA, Developer Productivity, Mobile and Cloud. The theme of developer productivity is the topic for this multi-series blog. Each blog in this series will describe one or more of these new and interesting changes. When deciding which feature to cover first, it made sense to start with the first feature that would affect developers starting to use 12c, and that is the new one-click install. In reality, there are several clicks, but new for this release, all of the files required for a developer install comes from a single installation file.
When installing prior versions of the Oracle SOA Suite, several potentially error prone steps where required in order to set up a development environment. For example, the Oracle Database and WebLogic server had to be installed before you started installing the SOA runtime and created the database schemas. Besides making sure you had compatible versions, they had to be set up correctly for all of the parts to work correctly.
For this blog post, the installation was performed on Windows 7. Steps for Linux install and other platforms can be found on the JDeveloper download web page referenced in the URL below:
http://www.oracle.com/technetwork/developer-tools/jdev/downloads/index.html
The installation will be done in two parts, the first is to install the software onto your computer. The second part is to start JDeveloper and the integrated Weblogic Server and Service Bus and configure the domain.
Part 1 – JDeveloper Studio Installation
Download the Windows 64-bit Install for Oracle JDeveloper 12c Studio Edition from the download page referenced above. Downloading the Generic Installer jar file is smaller and can be used on other operating systems, but will need additional features added to complete the installation. The Windows Installer contains the required JDK for JDeveloper Studio.
Included in this install file are the necessary components for development with the core SOA Suite including BPEL, rules engine, human work flow, adapters and the Mediator. Also new to the 12c release, the installer includes the service bus. Note that this installer doesn’t include Oracle BPM but is available as separate installation. Another feature you might require which is not part of the installation file is BAM since BAM requires an Oracle Database.
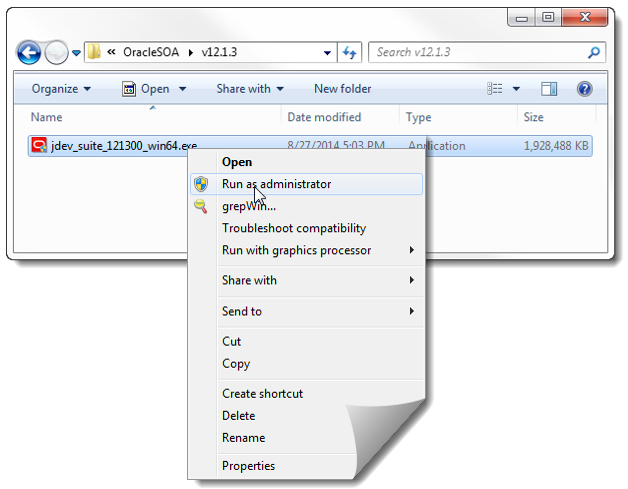
After the install file has been download, browse to the download location in Windows Explorer and right click on the file, select “Run as administrator” to run the installer. This is an important step and if this file is run without doing this an error will occur during the installation. There are several forum post with people who have tried this and ran into this error.
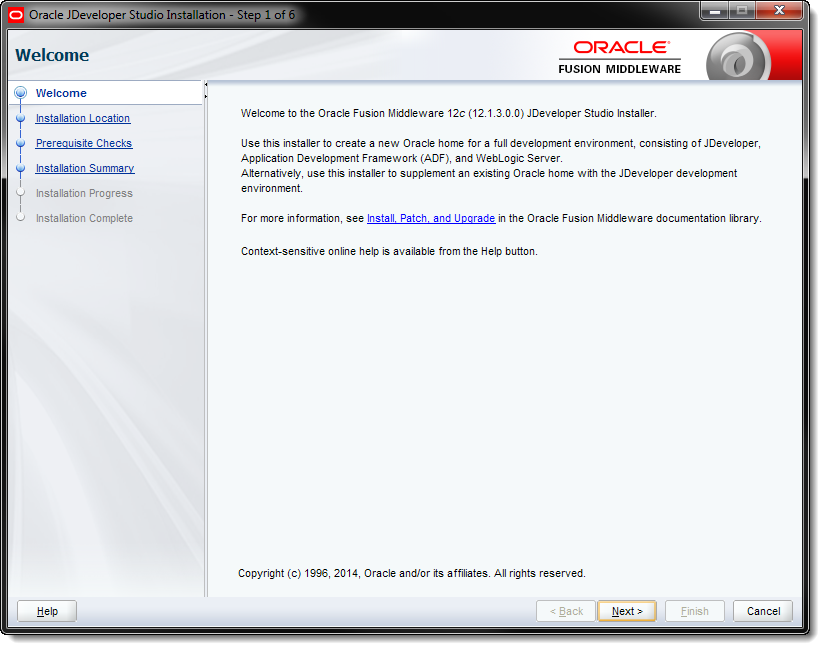
Click on Next to continue past the Welcome screen.
The next step allows you to change the location of your installed files. Make sure that this location doesn’t already contain a location which is being used for a previous version. For example, it could be changed to be C:OracleMiddleware_v12.1.3
Click on Next to continue

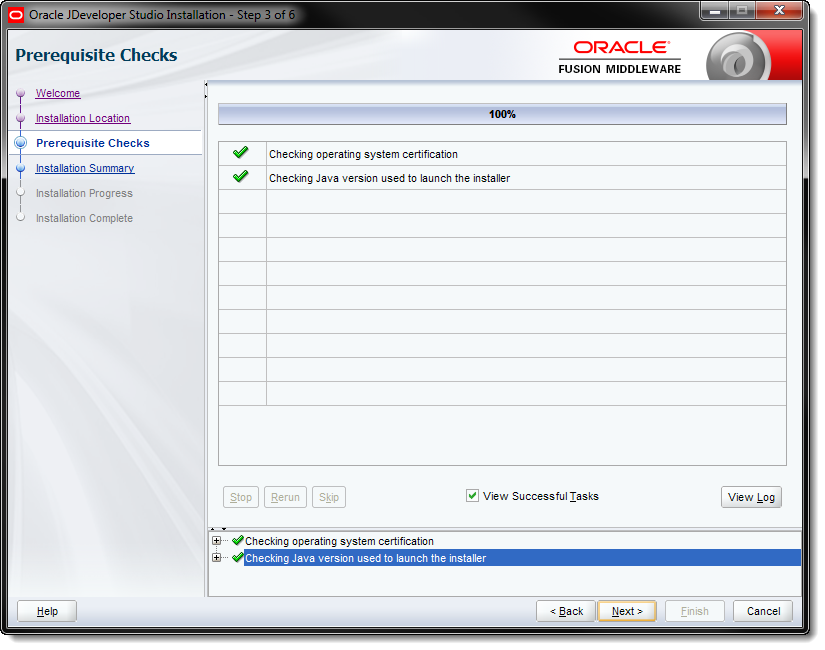
The Prerequisite Checks verify that you’re installing on a supported operating system and it has a valid version of Java.
Click on Next after the checks have been verified.
The installation Summary allows you to see what is being installed. Since this wasn’t something we’ve picked, it’s really just for your information.
Click on Install to continue.

The Install takes about 5-10 minutes. If there are problems, view the Messages and Log to help troubleshoot the problem. It should finish this next step with all green check marks and when it does.
Click on Next.

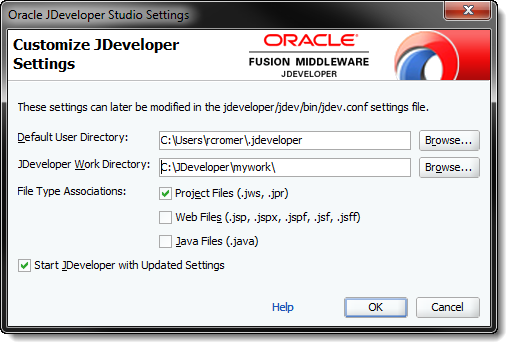
When you get to Step 6, you have an option to modify the Work Directory, the directory that is the default for most of the file dialogs, like the dialog used when creating a new applications. If you want to specify a specific location, click on Customize Settings and then Start JDeveloper. You can change this directory after the installation by making changes to the jdeveloper/jdev/bin/jdev.conf settings file.
Click on Finish.

The next screen is what you will see if you elect to Customize Settings.
2 Start JDeveloper Studio and Configure the Domain
In this next section we will start JDeveloper, start up the integration WebLogic server and configure a domain.
During installation, the Windows installer created a JDeveloper shortcut. Below is an example of where you can find that shortcut.

When JDeveloper starts up, it will prompt you for the Role of the person using this installation. Leaving the first option selected will provide the developer with all of the available features. This will be shown every time JDeveloper starts up unless that check is cleared from “Always prompt for role selection on startup” at the bottom.
Click on OK to continue

A new feature of JDeveloper 12c is during startup, it scans the middleware directory and registers all of the IDE plug-ins. These no longer need to be downloaded separately. The potential downside to this is if you want to use features not included with the bundled install file.
Starting the Integrated WebLogic Server
After JDeveloper has started, navigate to the “Application Servers” window by selecting Window->Application Servers from the menu.
Notice that the IntegratedWebLogicServer is already defined. The WebLogic server uses JavaDB (Derby) so installing an external database is not required.
Right Click on the IntegratedWebLogicServer and select
“Create Default Domain” from the context menu.

Specify the new administration password for your installation. Be sure to also fill in the Confirm Password field. You will need to remember this password because it will be used frequently. Optionally click on the Technologies tab to see which runtime code is included in this Domain. Notice that SOA and Service Bus Developer are included by default.
Select OK to continue

Creating the domain take several minutes. The progress can be seen in the IntegratedWebLogicServer log panel at the bottom of JDeveloper.

After the Domain has been created, the server can be started.
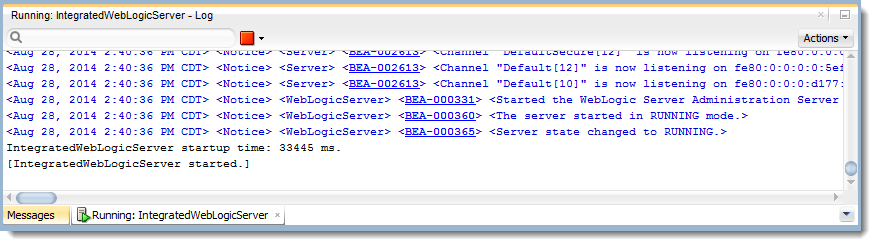
From the Application Servers window, right-click the IntegratedWebLogicServer and select “Start Server Instance” from the context menu. As the server is starting on Windows, a command window will open to start the JavaDB. That window should say “started and ready to accept connection on port xxxx”

After the server starts, the IntegratedWebLogicServer should contain several new folders. Below are the folders that are created:
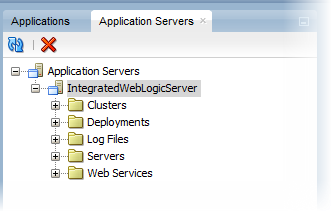
Verify that the server is ready by looking at the IntegratedWebLogicServer log window.
This completes the installation of JDeveloper Studio. Although it’s not really one-click install, it is still lot easier to install and set up than it was in previous versions. Look on AVIO’s website for the next post in the series of Oracle SOA Suite Developer Productivity Enhancements.